Replacing the Speaker Surrounds of Bose 501 Series IV
21 April 2012
Patiently hunting on eBay and craigslist, I have acquired 4 Bose 501 series IV speakers from 1985. They were made when Bose had focused on features and quality rather than marketing and so they sound very well. Some of the notable features include a 5 sided speaker cabinet to minimize standing waves and a back-facing tweeter to make the sound spacious (unison effect). The frequency response is relatively flat, excluding a minor resonance at about 8 kHz.
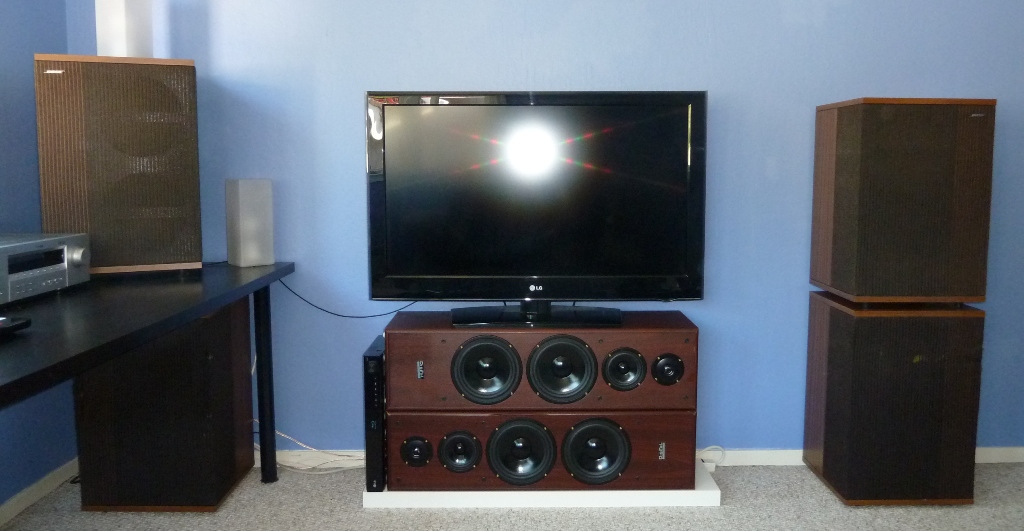
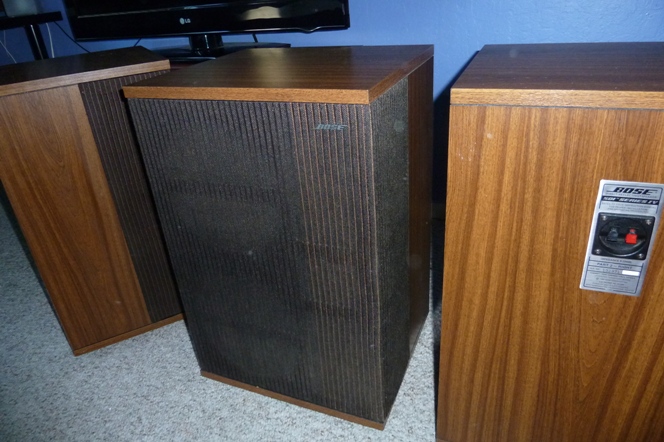
My bedroom A/V entertainment area. The 501s are the 4 speakers on the sides.
Being about my age, these vintage speakers needed some repairs. The first point of speaker failure due to age is usually the foamy speaker surround. The 501s were not designed to be easily user serviceable and so after fixing 4 speakers, I developed a procedure to replace the surrounds that works well. Prerequisite materials include new 10" surrounds and a bottle of glue that bonds with metal, rubber and paper.
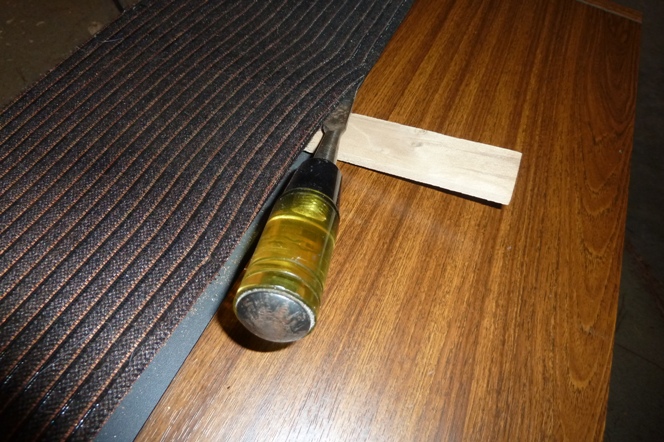
Step 1: Removing the speaker cloth and its frame
Using a knife gently raise the cloth frame

Reach the staples with the tip of a chisel or a flat screw driver. Then using a shim for support, press down on the chisel handle to pull the staples out. If a staple cuts through the frame and stays on the cabinet, take it out.
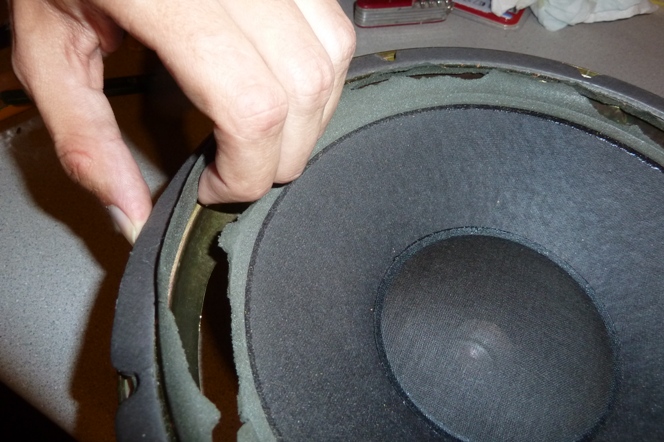
Step 2: Replacing the surrounds
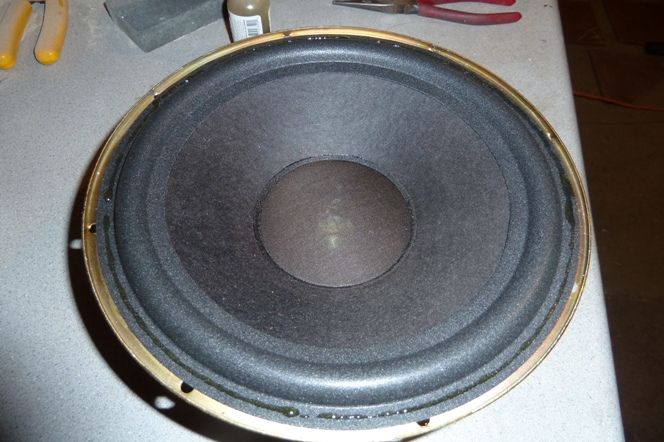
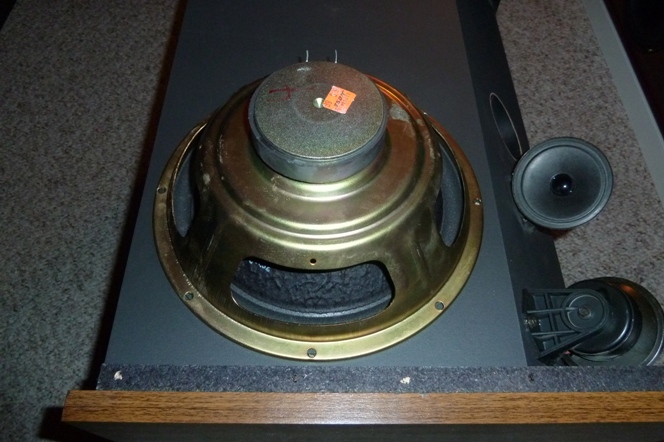
Take the woofer out. Cut through the remaining surround if parts of it are still in tact and then reach between the cone and the paperboard ring. Wedge your fingers under the ring and take it out.
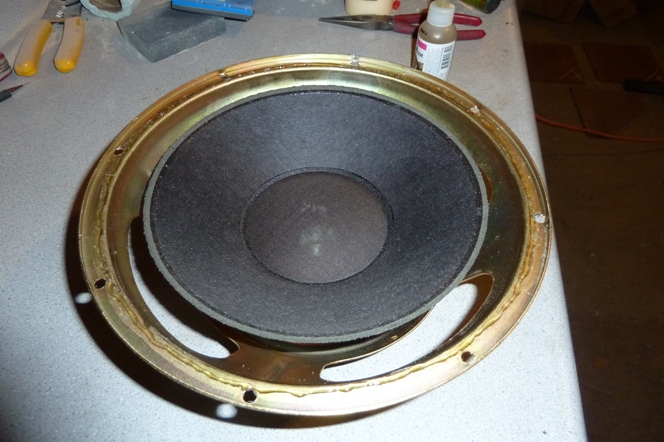
Clear any glue and surround remains and apply a ring of new glue on the metal, slightly towards the center.
Centered the new surround on top of the layer of glue and add another ring of glue on top of it.
Place the paperboard ring on top.
Make sure all parts are centered. Then put the speaker over it's opening in the speaker cabinet to press the newly glued layers together and leave it there for a few hours.
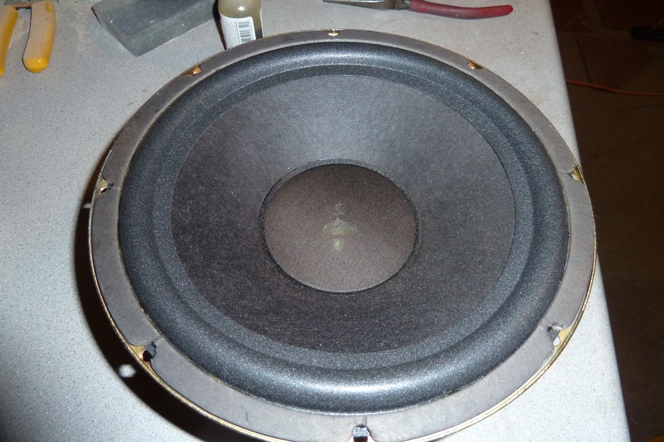
Now it's time to glue the surround to the cone. Add a ring of glue next to the outside edge of the cone and press the cone and the surround together.
We need a press to bend the surround at the angle of the cone. I found a kitchen pan that has the diameter and angle we need. Balance the handle with a counter-weight (pliers in my case) and place the pan on top of the speaker.
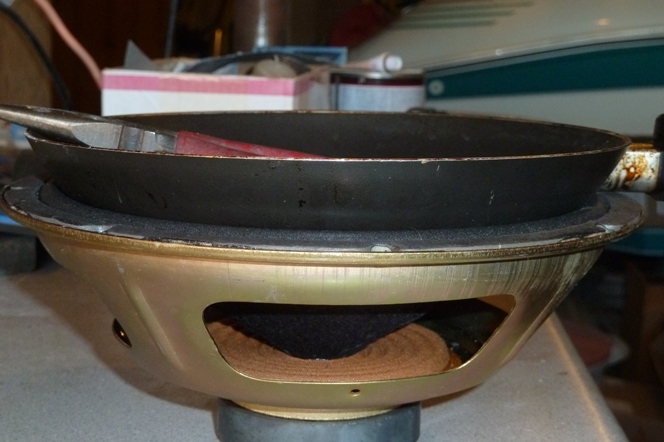
Here comes the tricky part - by reaching under the speaker, shift the cone around until it can move freely between the extremes of being completely pressed or completely pulled. You can tell in which way it needs to be shifted by pushing the cone up from one side at a time. If it scratches, it needs to go towards the side you just pushed it from.
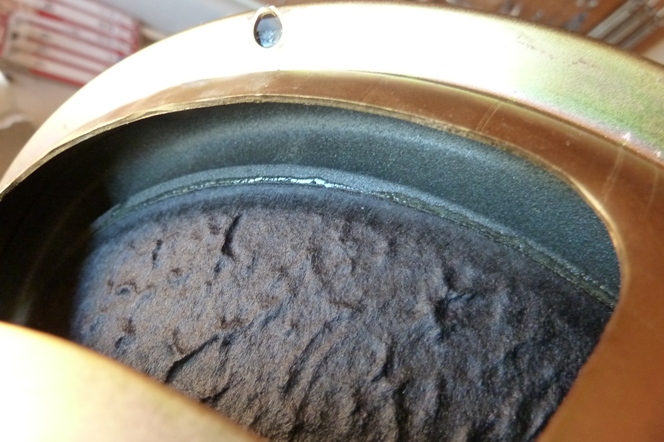
After centering, leave the glue to dry for a few minutes and then recheck that the coil can still move freely. Adjust as necessary and leave for the time your glue requires to completely dry. At this point you should have a refoamed speaker that looks like this:

Ideally, a little glue should be visible from the back.
Step 3: Washing the cloth
The cloth can be washed with soap and a brush.
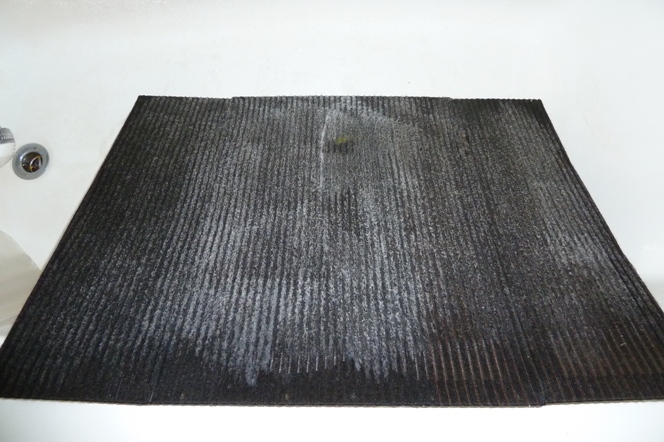
The key part here is that the frame will warp unless you keep it straight immediately after washing. I conveniently used the speaker cabinet while the glue on the surrounds was drying.
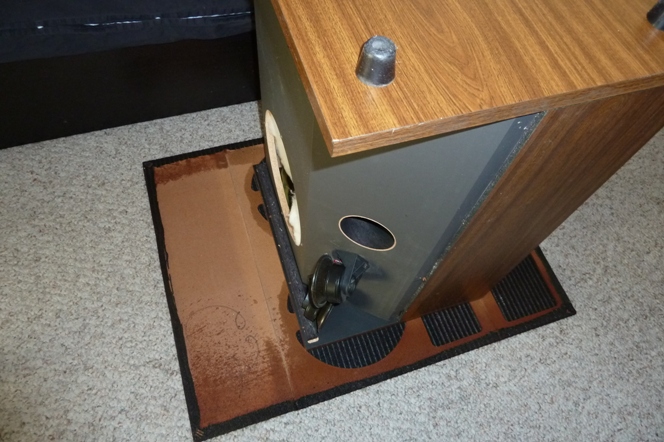
Step 4: Put everything back together
Place back the rubber isolation ring around the woofer opening of the cabinet.
Connect the wires to the speaker terminals - green to (-) and yellow to (+).
Drive the 4 speaker screws back in. This will take 2 passes since the rubber ring is soft.
And the last step - put the cloth back on. First straighten all staples. Then align the cloth to the cabinet and hammer the staples in while trying to match the original holes. The side plywood is quite hard and if you don't match the original holes there's a good chance the staples will bend. If you have staples that did not come out with the frame, hammer them in close to their original locations.
At this point you should have awesome refurbished speakers. The repair process takes some time, but if you like your speakers you will definitely enjoy it :)
Comments for Replacing the Speaker Surrounds of Bose 501 Series IV
anton staykov on April 25, 2013
Great job. Helped me alot on the pair I just bought for 10$ on a garage sale. Sadly i had to replace the fabric also... the original is much nicer than the one I managed to get. Thanks friend for the great article ! Mersi priatelio ... mnogo polezna ifnormatsia :)